
How-to
Garden Stories
Worm Composting: Part 3
I started vermicomposting (composting with worms) in April for Earth Day. It has been four months and my worms have generated some nice castings (worm poop) from the food I fed them. My compost is ready to harvest!
If you started a worm bin or are planning to do so, you will know your bin is ready to harvest when the paper bedding and food scraps have been turned into a dark, fluffy, soil-like material. In a successful worm bin, the castings will be lightly moist and airy, not wet. (Note: If your worm bin is soggy, open the lid and let the bin dry out for a week or so. Do not add any food scraps before moving to the next step.)
When you have a substantial amount of casting material,
stop feeding your worms and let them consume any remaining food scraps. This might take a week or so.
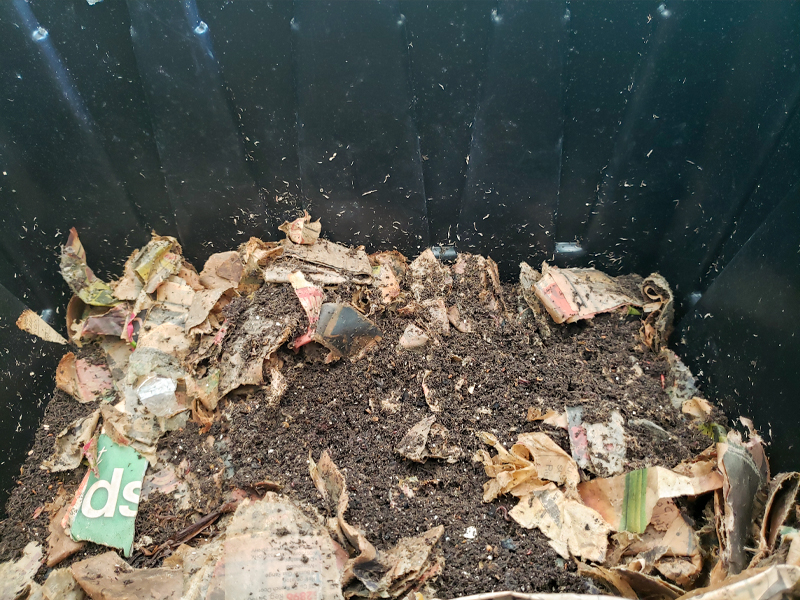
This worm bin still has a lot of bedding material, but we can harvest the castings now.
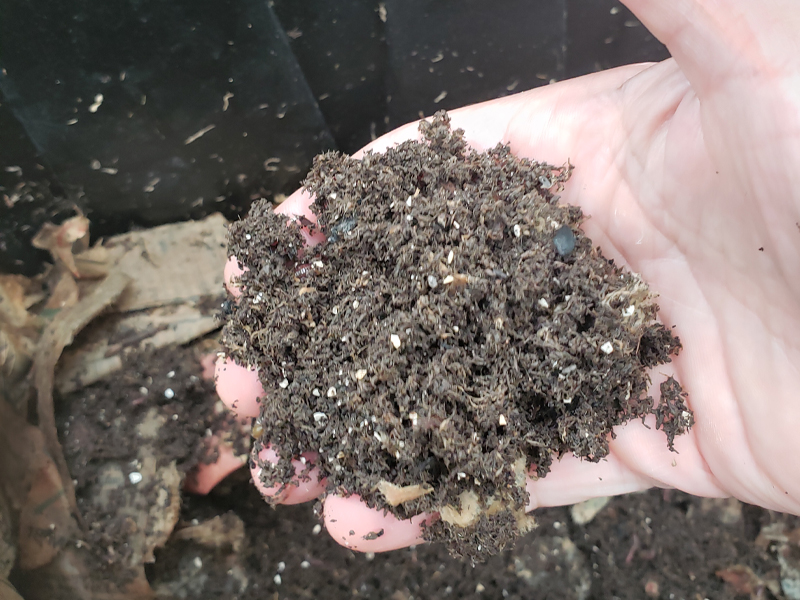
Worm castings will feel light and fluffy and slightly moist.
Now comes the fun part!
Put on gloves or be prepared to ruin your manicure (I did the latter).
Carefully separate the castings from the remaining, undecomposed bedding materials, moving them to opposite sides of the bin. Children can do this because it does not need to be perfect, and they might enjoy digging in the bin and finding the worms. If a worm pokes out, place it on the bedding side. It is not necessary to move the worms because you are going to coax them out of the castings by making the bedding side more appealing to them. They will move themselves.
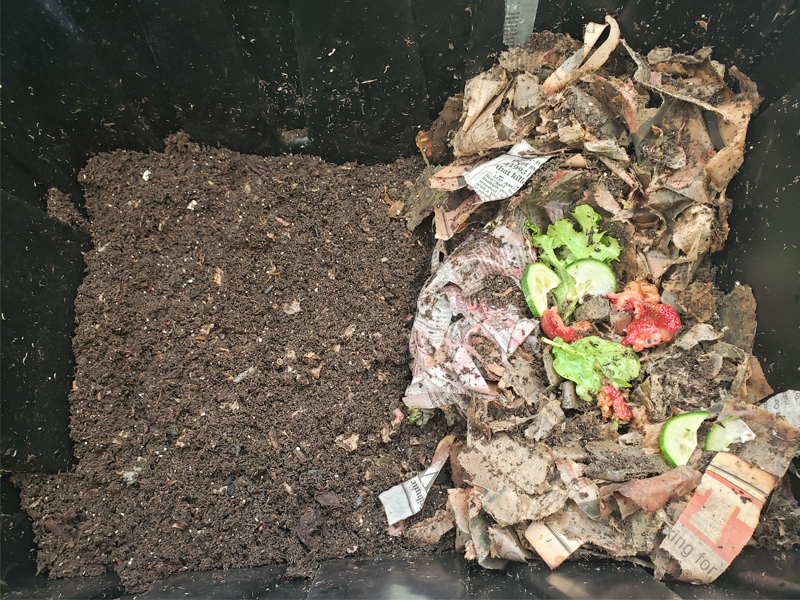
Move the castings and undecomposed bedding materials to opposite sides of the bin.
Worms will move away from the light that is shining on the castings.
After separating the materials,
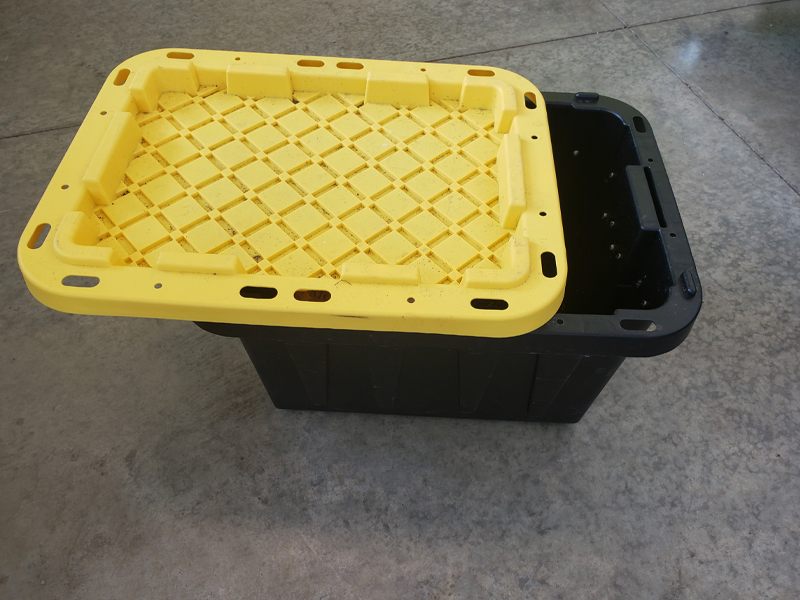
add some fresh food scraps to the bedding side, and cover with moist newspaper or other paper scraps. Then place the lid on the bin, leaving it partially open over the castings. During the next several days, the worms will naturally migrate to the darker side of the bin where food and water are waiting for them.
After about a week,
scoop out the castings and place them into a bucket or other container. Move any worms or large pieces of undecomposed material from the bucket of castings back to the worm bin. It is not necessary to get every piece, as these will continue to decompose over time. You can screen the material by pouring it over a half-inch mesh grid, but this is also not critical. Redistribute the bedding in the worm bin, adding a little more if you like.
What you now have is a bucket of “black gold.”
Worm castings contain nutrients and beneficial microorganisms that help plants grow naturally. Instead of fertilizing your garden, you can add castings directly to a garden, mixing it to combine with existing soil. You can also add a small amount to indoor plant soil to feed your houseplants. To make the nutrients available to plants faster, you can also prepare “compost tea” to water your garden.
In a recent video posted on Instagram and Facebook, we showed you the elaborate process we follow to make high-quality compost tea at the Garden. A simple shortcut for making an effective compost tea is to add dechlorinated water (rainwater or tap water that has been standing open for a few days) to the castings in a ratio of roughly 1 pound compost to 1 gallon water. Mix well and use this “tea” to water your garden.
Why dechlorinated water?
Because chlorine and other chemicals in municipal water supplies kill microbes. While this keeps our drinking water safe and free of harmful bacteria, it also kills the microbes that are necessary for waste decomposition. These microbes assist plants in absorbing nutrients they need from the soil.
No matter what you do with your castings, composting helps the planet by diverting food and paper waste from the community waste stream. If you do not have compost pick-up in your neighborhood, you have helped keep this waste out of a landfill, where food scraps decompose under anaerobic conditions and produce greenhouse gases.
